
I love making cards, scrapbooks and creating memories through art. Over the years, I have collected a bounty of scrapbook paper that is now bursting from my craft room. Designing on a dime is easy for me and has become a way of life. Often times, ideas come to me randomly and when I least expect it, as did the pink paper pagodas. If you have been following my blog, you know by now that I have a pink bedroom in my house designed for the little girl in me, sweetly inspired by my eldest daughter. The pagodas were inexpensive and easy to make, adding color, texture and lots of love to my bedroom. And, best of all, I found another use for my paper.
So, here is how my concept came together...
First, I folded sheets of color coordinated 8 1/2" x 11" scrapbook paper in half, carefully tearing the paper into two pieces, each measuring 4 1/4" x 5 1/2". By tearing the paper, I achieved a soft, feathered edge rather than a hard, cut line. Then, I rolled the paper around a dowel rod, working from the bottom (cut edge) to the top (torn edge). Using a glue stick, I secured the torn edge to the paper tube. Finally, I removed the dowel rod, which left a tight and sturdy tube.

The rest is really quite simple. I formed the paper tubes around a square frame in order to keep them straight and just kept building up. Each tube was secured seam side down with a bead of craft glue connecting the ends. In no time at all, the pagoda was finished and in place in my pink bedroom. I added a glass votive and tea light inside for soft illumination, which gently peeks through the colored paper. Note: I used a glass votive that was significantly taller than the candle to prevent the paper from catching fire.

Okay, so they are not necessarily pagodas, but the name sounds cute, right?
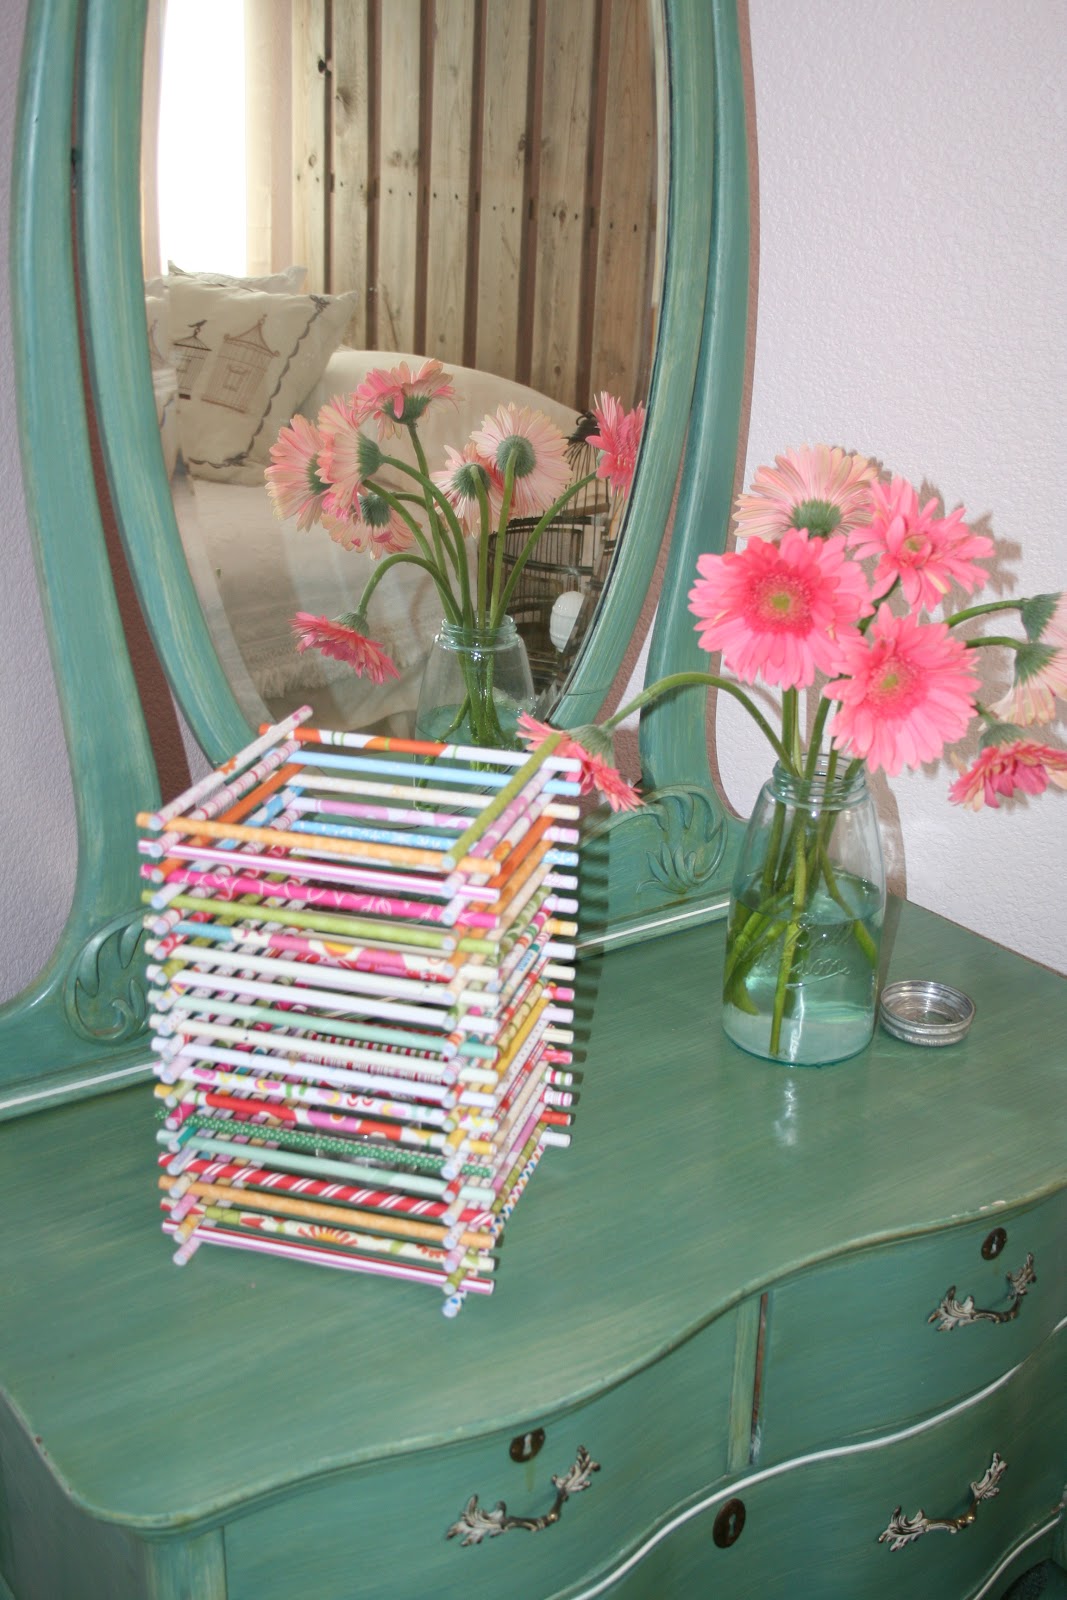
Here are some other whimsical touches in my pink bedroom. More to come, with a full room reveal soon!

I LOVE it! Your dresser is fantastic! Can't wait to get the full "tour" :)
ReplyDelete